Introduction
Knowi’s Microsoft Teams integration combines our powerful search-based analytics capabilities with Teams’ intuitive messaging user interface. This enables users to ask questions of their data, receive answers, and visualize those answers within Teams.
There are two main steps to enable search-based analytics in Teams:
- Upload and Install the Knowi App Package
- Connect your Knowi account within Teams
Sections
- Installing the Knowi App Package
- Connect your Knowi account within Teams
- Natural Language Processing Settings
- Data Management for Natural Language Processing
Upload and Install the Knowi App Package
*Note: Knowi’s Teams Integration is currently in beta. We’re in the process of publishing the app to the Teams Marketplace. To request the latest version of the beta app, please contact us at support@knowi.com
There are two ways to upload your app to Teams:
- Using the Teams Store
- Using the Apps tab
Upload Knowi App package using the Teams Store
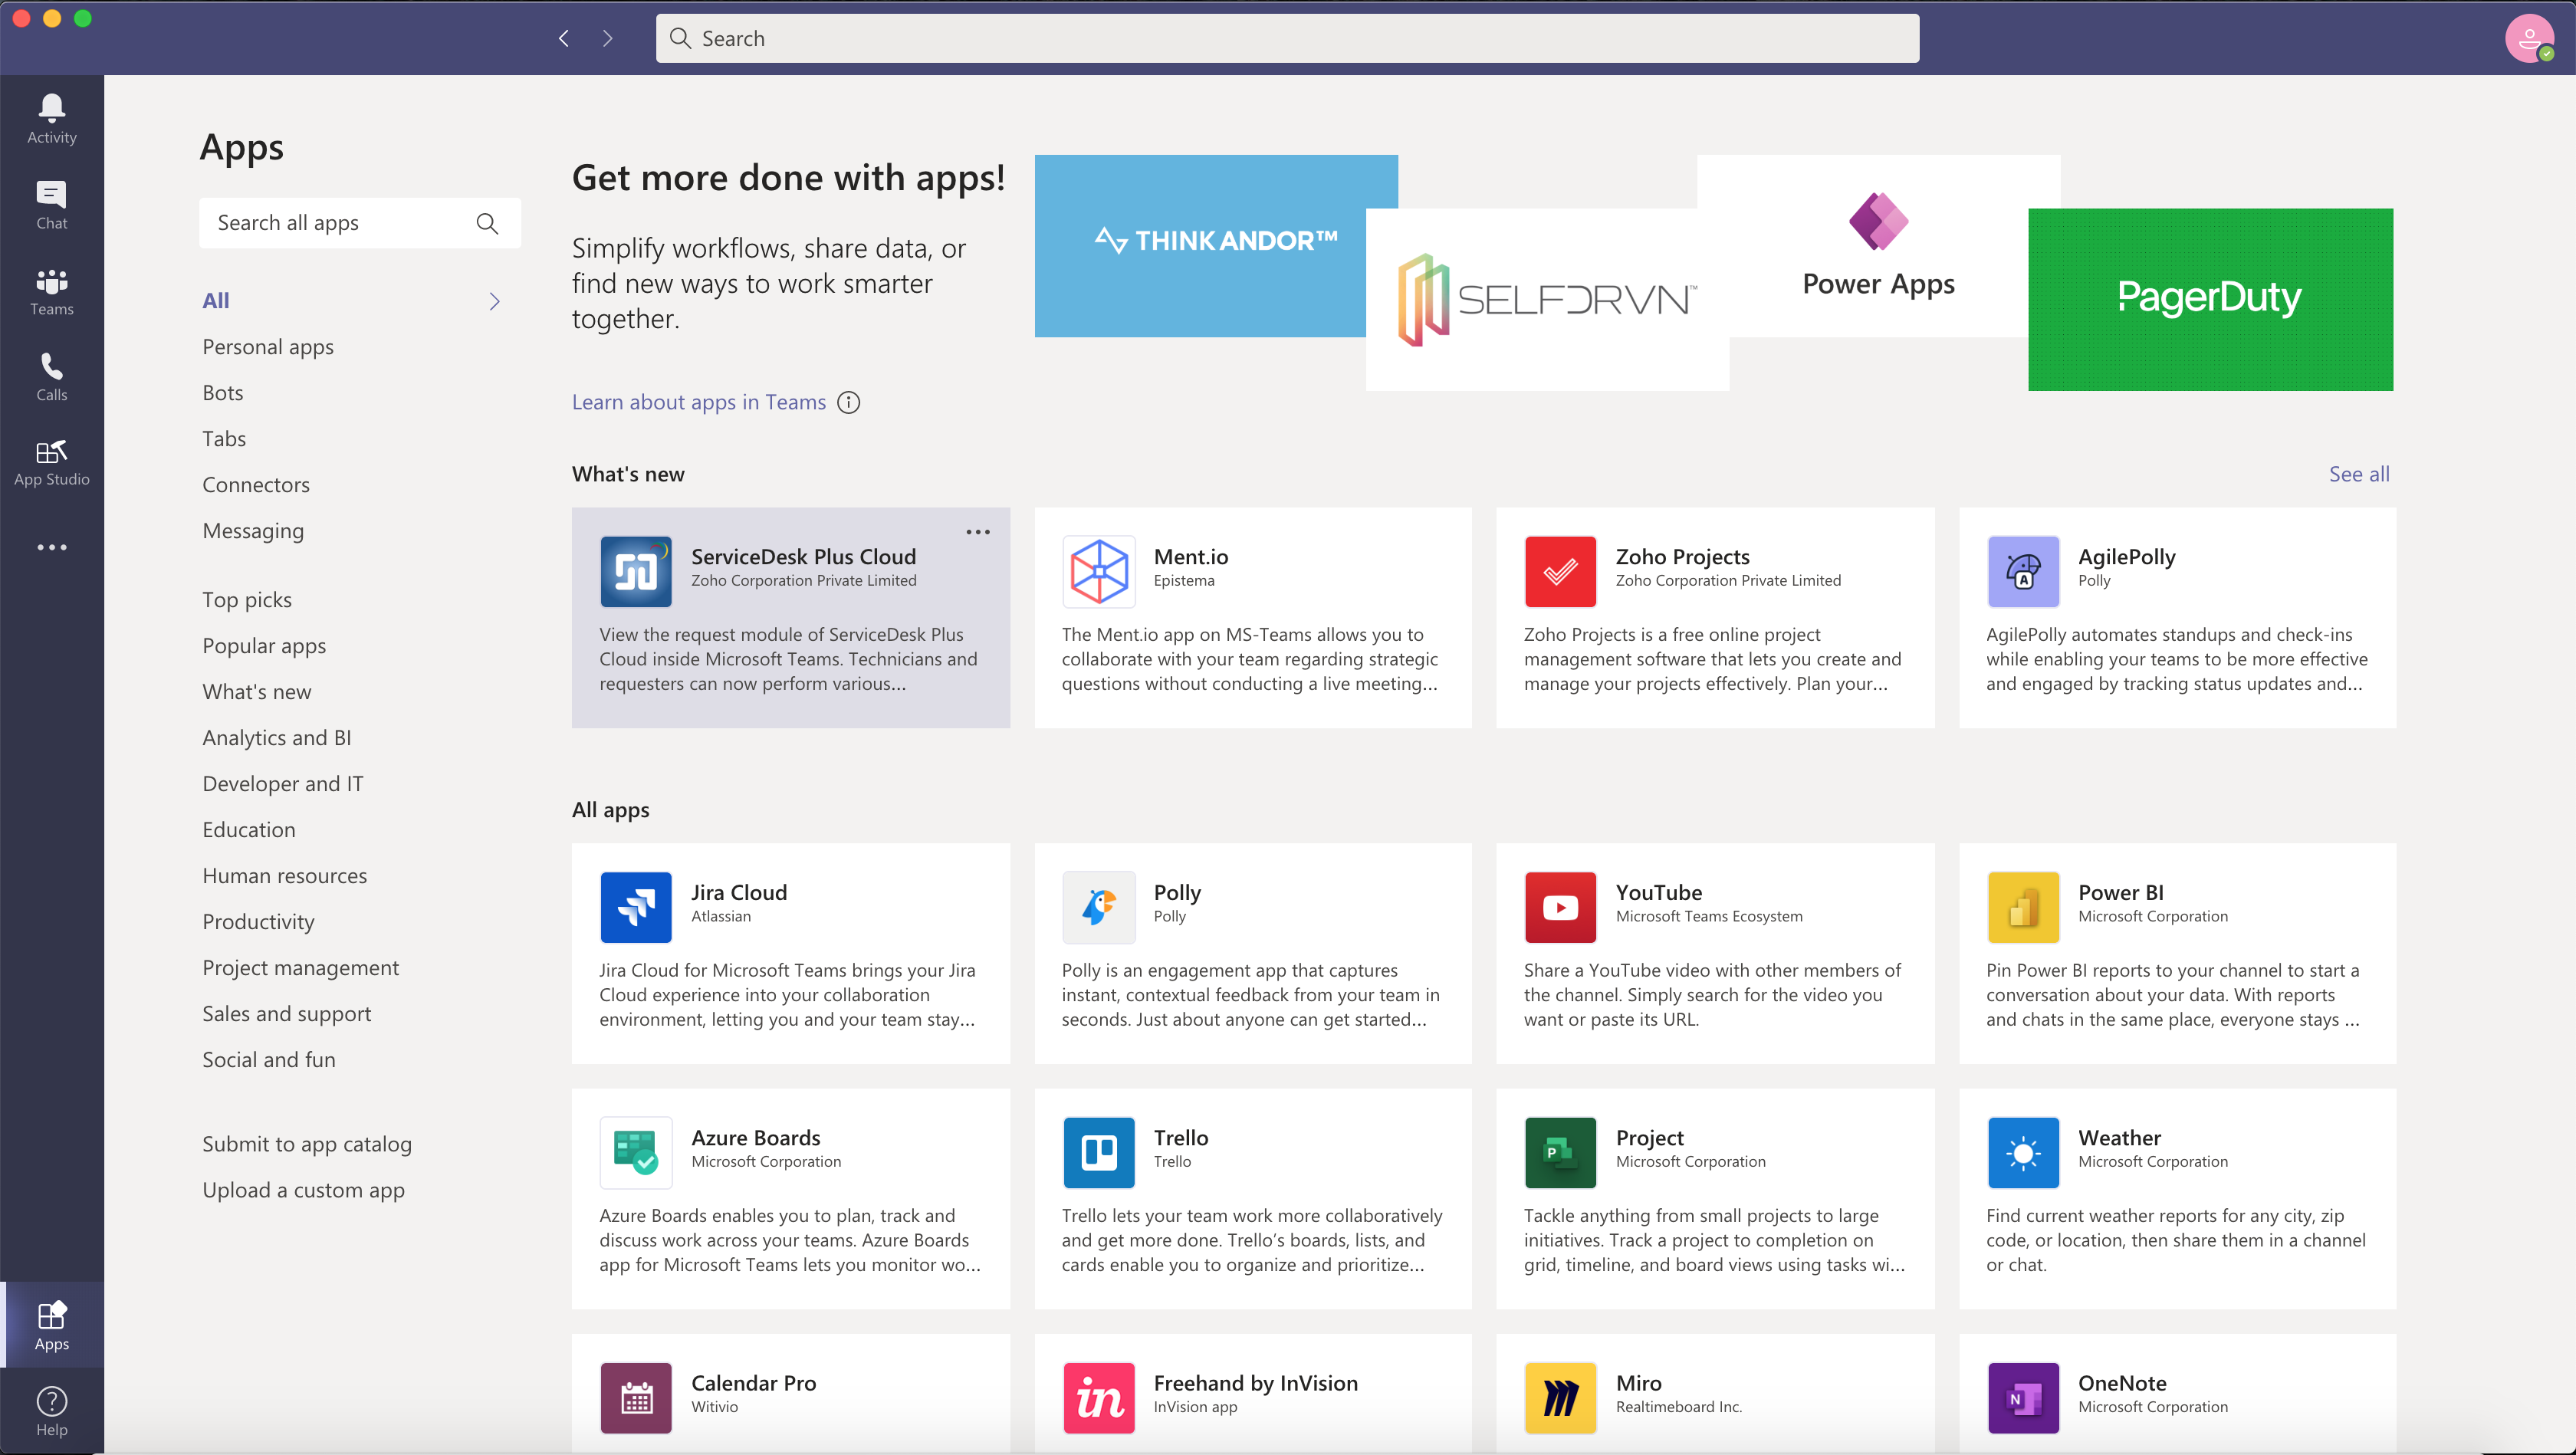
1. In the lower left corner of Teams, choose the Store icon. On the Store page, choose Submit to app catalog.
2. In the Open dialog, navigate to the Knowi package and choose Open.
3. The Knowi app should now be available for use in the one-on-one conversation with you.
Upload Knowi App package into a team using the Apps tab
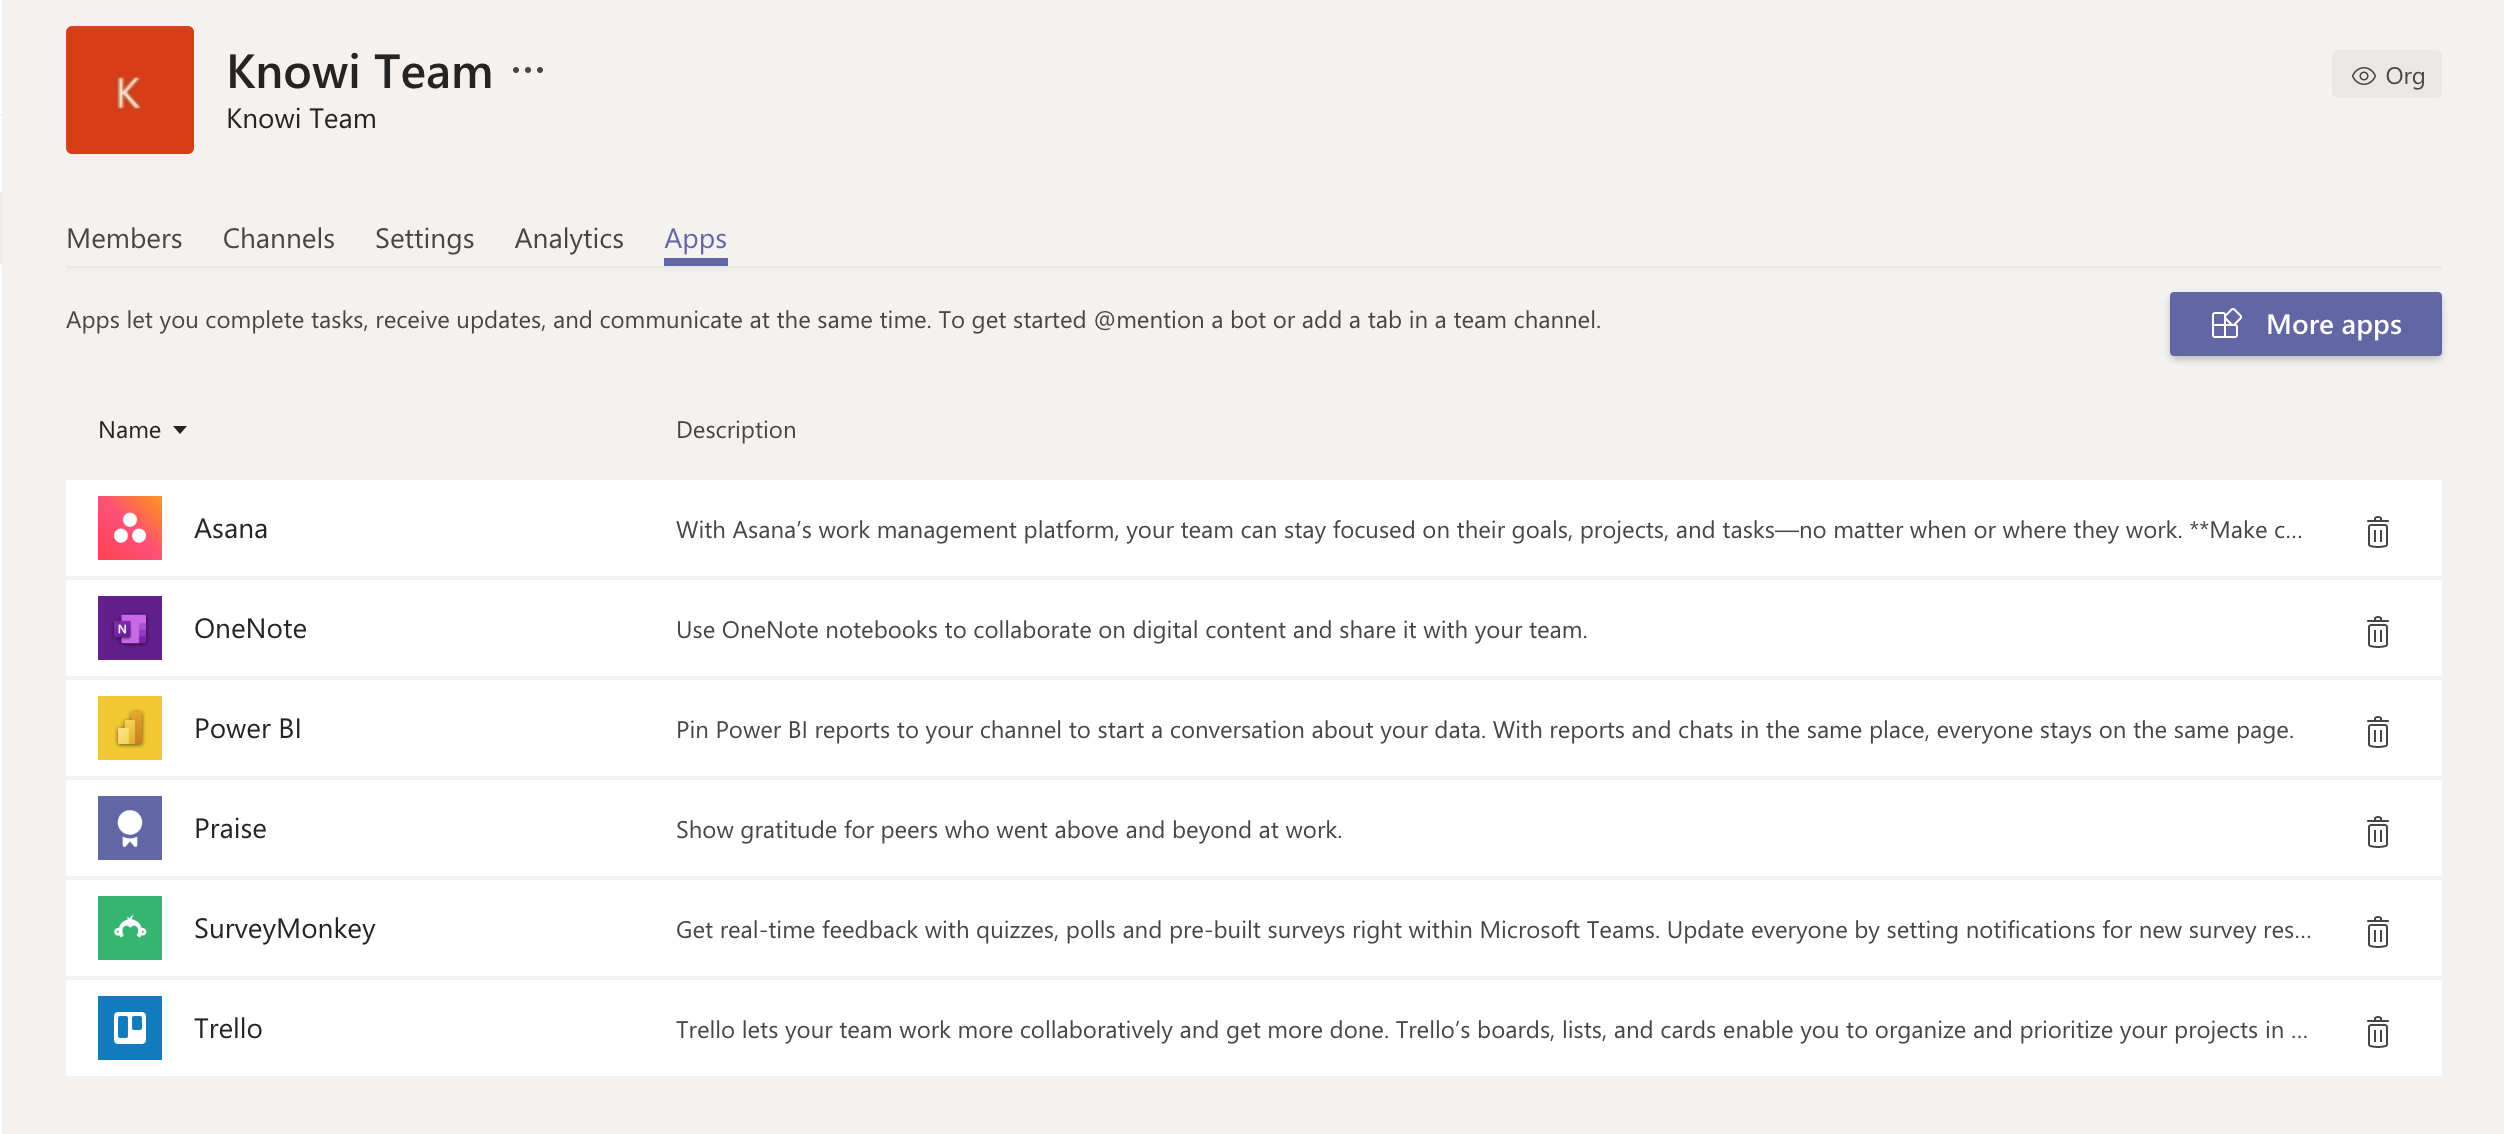
1. In the target team, choose More options (⋯) and select Manage team.
*Note: You must be the team owner or the owner must give access to users to add the appropriate app types for this functionality to appear.
2. Select the Apps tab, and then choose More Apps.
3. Select Submit to app catalog on the lower left.
4. Browse to and select your Knowi.zip package from your computer.
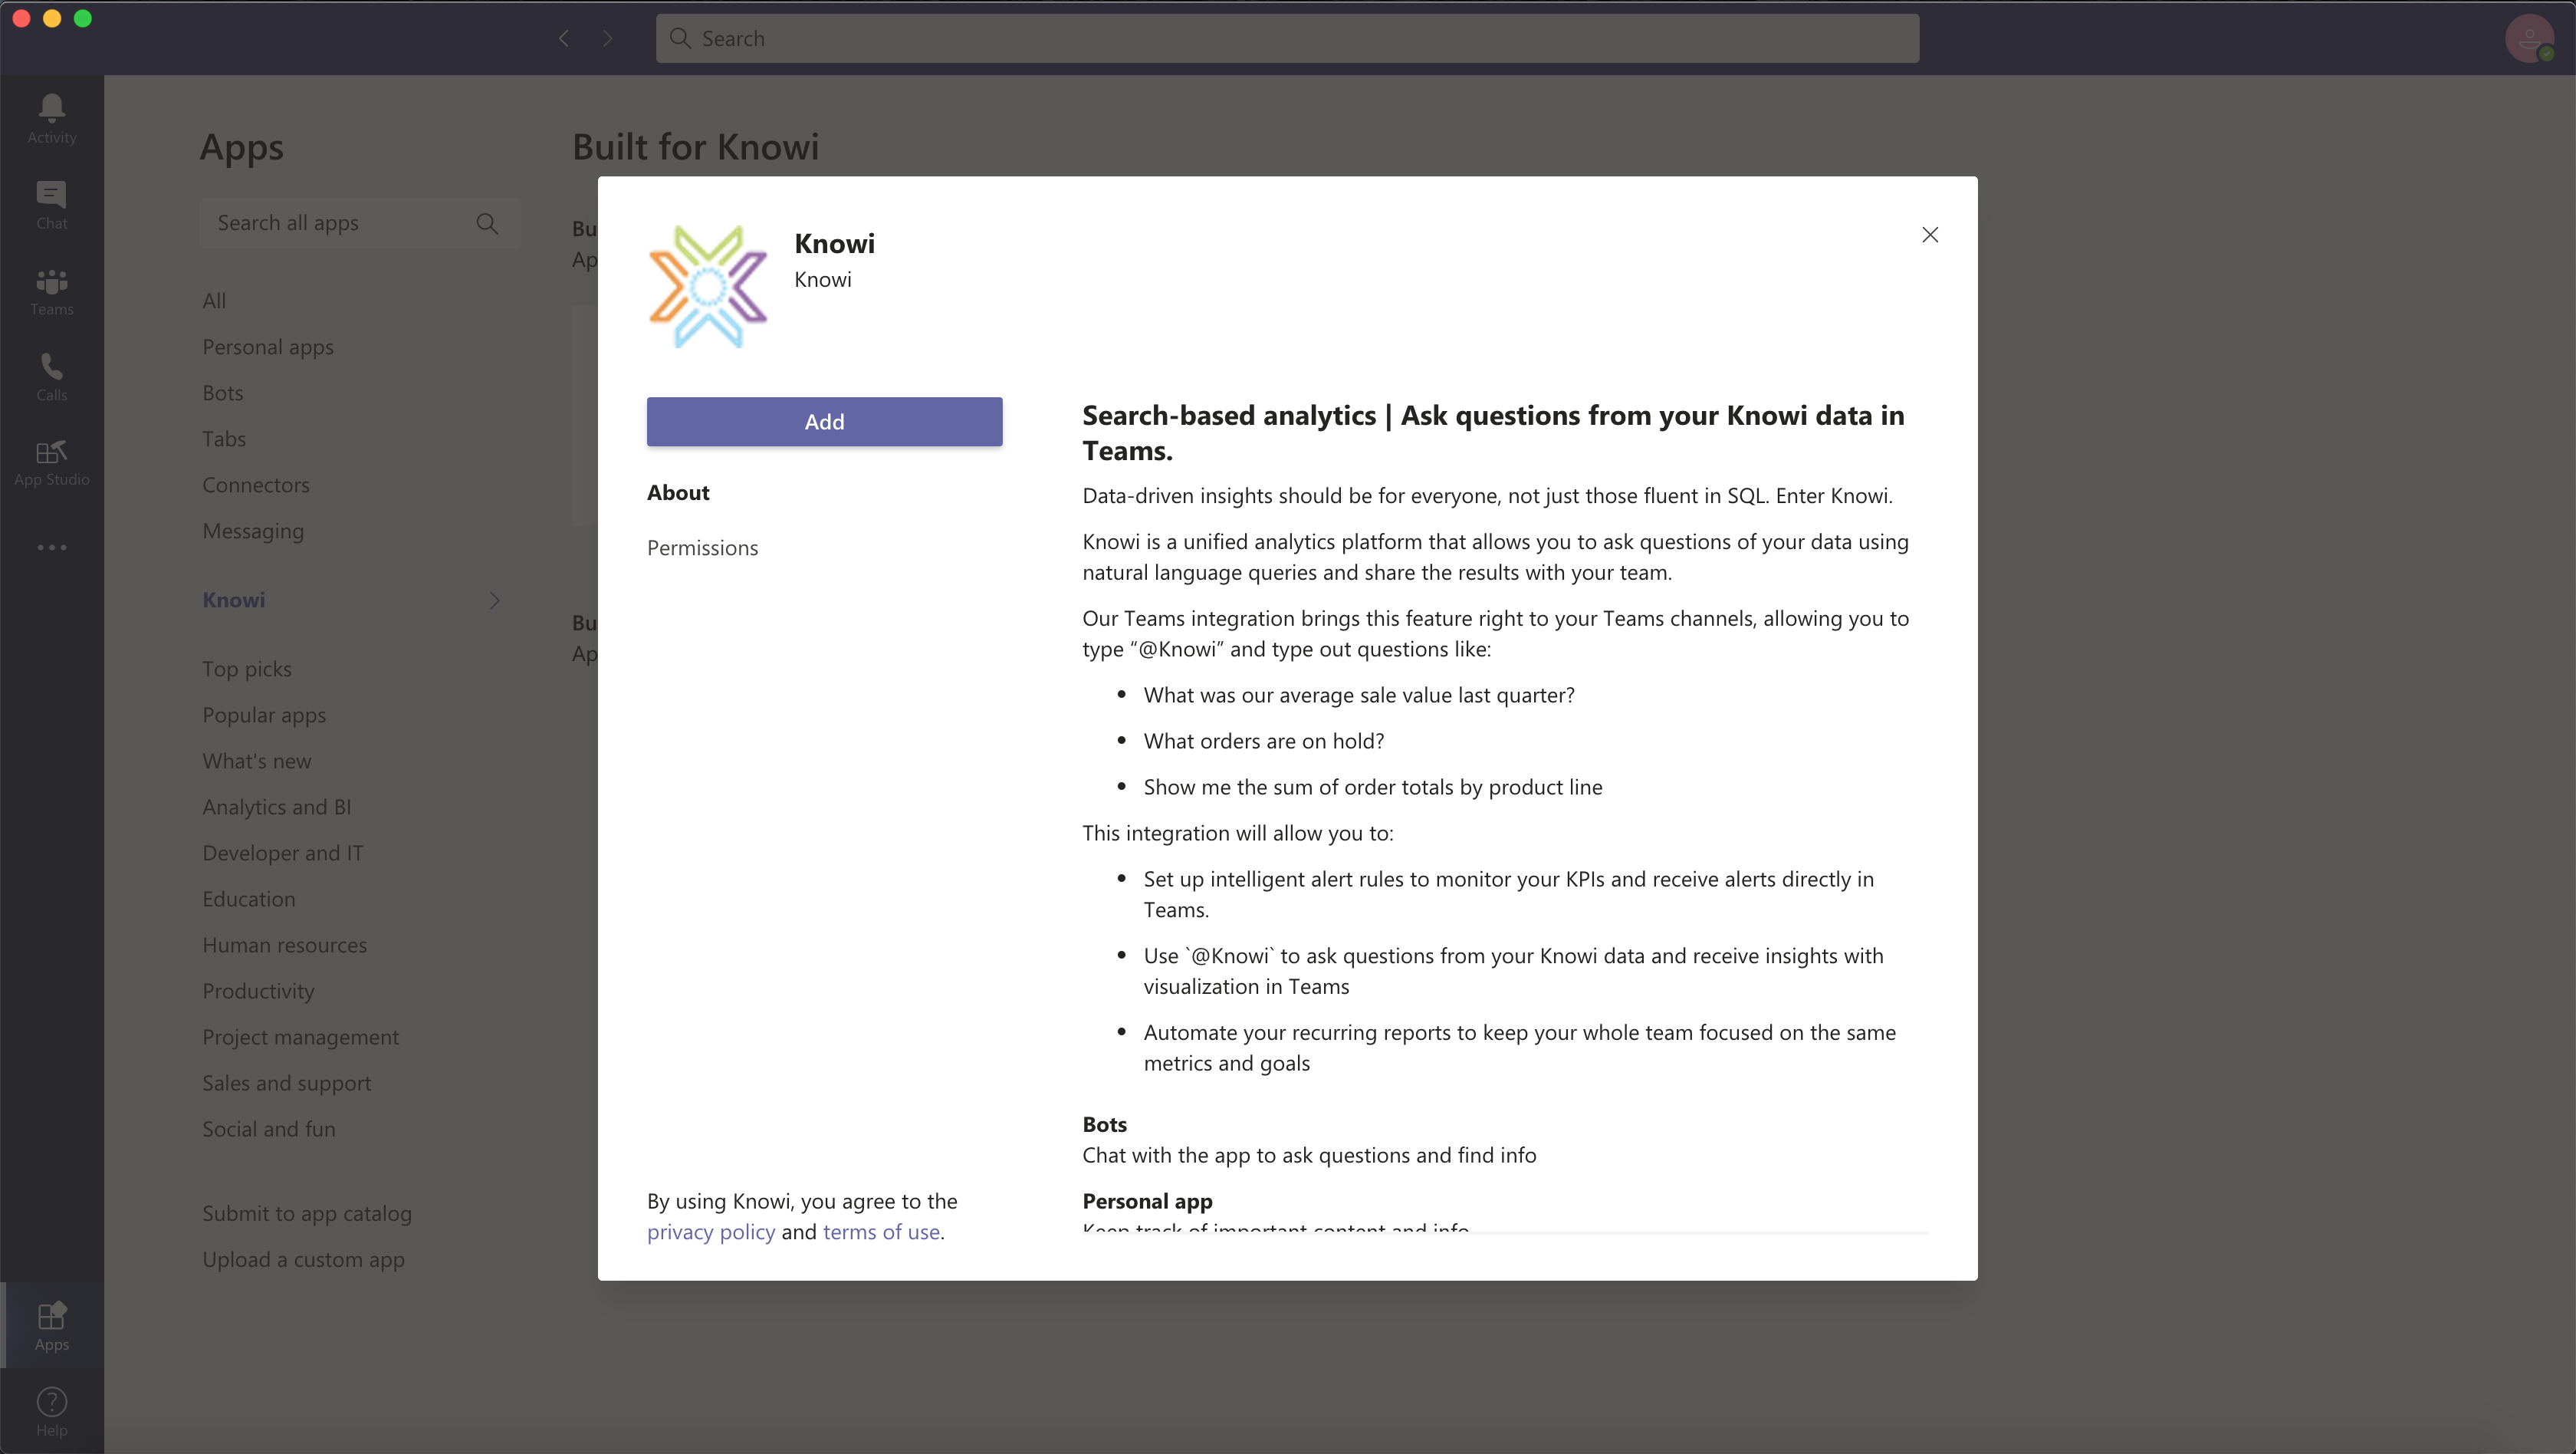
5. After a brief pause you will see the Knowi app in the app list.
Connect your Knowi account within Teams
Once the Knowi app has been installed, the next step is to connect your Knowi account.
- Open the a chat with the Knowi bot
- Place your cursor in the chat box, which brings up the “What can I do” prompt. This shows a list of core commands the user can respond to
- Select connect from the options, then click Connect in the dialogue box
- When redirected, log in using your Knowi account credentials
- Click Allow to give teams_knowi_app permission to access Knowi
- Click Get Started → Open in Microsoft Teams
- Back in the Teams App, enter @knowi in the compose message area. This brings up the Manage Queries & Notifications menu
- You are now ready to start asking questions and retrieving reports from Teams
For documentation on using Knowi’s Teams integration as a User, click here.
Natural Language Processing Settings
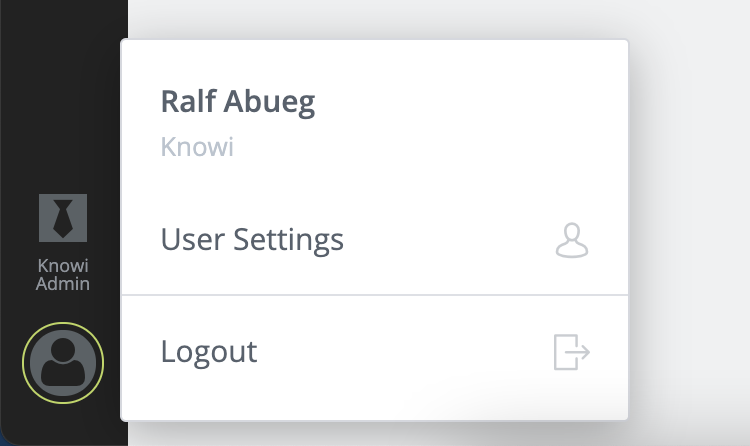
Knowi’s Search-based Analytics can be configured by navigating to User Settings > Natural Language Processing Setting
You can toggle the settings below to disable/enable. By default, they are enabled.

NLP Across Datasets
When Enabled/ON: enables natural language interface across datasets and the NLP search bar appears above dashboards.
When Disabled/OFF: the NLP text bar will disappear from the top of the dashboards. Note, that you will still be able to use the NLP within individual widgets in the Analyze screen.
Index By Default
By default, all datasets will be automatically indexed. Turning this off will automatically exclude NEW datasets from being indexed. Datasets can be individually indexed from the Data Management section of the query listing Queries > Data Management > NLP . If you would like to turn off historical datasets for indexing as a one time operation, use the option in the pop up.
NLP Slack Integration
When Enabled/ON, enables natural language interface from Slack.
NLP Favorites
List of the categories that you saved to Favorite in Slack. You can modify existing categories or add new ones here.
Data Management for Natural Language Processing
To configure NLP settings at the dataset level, navigate to Queries > Data Management > NLP. It can also be accessed at the widget level via More Settings > Data Diagram > Edit Dataset (click on the pencil icon in the blue box representing the dataset).
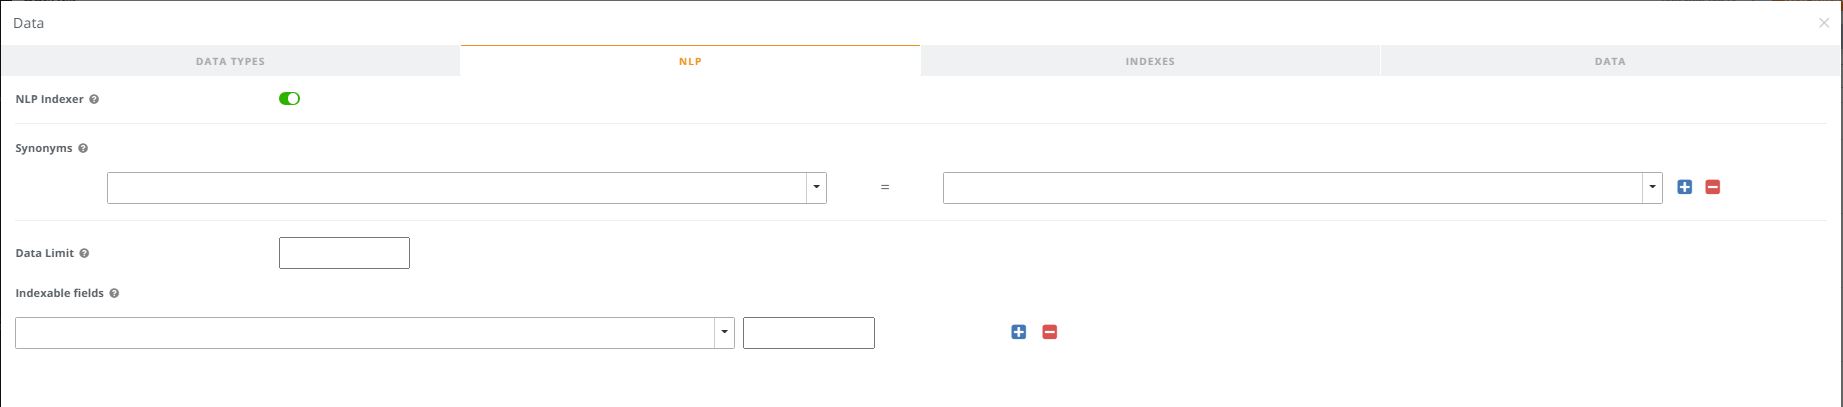
NLP Indexer
Defaults to ON. Turning it off will exclude the dataset from Search-based Analytics/NLP queries. Note that it may take a few minutes for the change to take effect.
Synonyms
Useful for adding context awareness to your Search-based Analytics/NLP queries. For example, if you have a field in your dataset named “customer”, you can add a synonym "tag" to this field such as "shopper", "buyer", "client", etc. So, when you type in a question like "total sent by client", it will recognize the term "client" as equivalent to the field "customer". Multiple synonyms can be added for each field.
Data Limit
Option to limit the amount of records to process for NLP. Defaults to 200k records when empty. Set to 0 for unlimited.
Indexable Fields
Gives you control on the ability to set unique values on String fields that are often used as part of a condition. For example, consider the query statement “Total sales for Motorcycles in Alameda” on a dataset that pans millions of records. Motorcycles may be a value in the Product fields and Alameda in the County field. Having these fields defined here, along with setting unique values limit will speed up the NLP processing.
Index values from another Dataset
By default, values are sampled from the original dataset (if the query is non-direct). Pointing to another dataset gives you fine grained control over the values that can be driven from another dataset. The values are determined for the first column of a dataset. If the dataset has multiple columns, values will be determined for the column name matching the field to index.
Related Documentation
- Natural Language Processing Overview | link
- Teams Integration as a User | link