
Can I use Trigger Notifications Webhooks to Send Data to Zapier
You can use Knowi Trigger Notifications to send data to Zapier.
Here's how.
Zapier is an API service that allows you to connect applications to each other and automate updates, data sharing, and lots of other things. You can create "Zaps" to connect applications like Google Sheets, Unbounce, Clearbit, Salesforce, etc. There are literally hundreds of application combinations making it a powerful way for even non-technical users to integrate internet apps.
It's super easy to use data in Knowi and send it to Zapier with a Trigger Notification Webhook. You can then use the payload to perform useful tasks in other applications, such as updating prospects in Autopilot or Hubspot or sending a customer survey through Delighted or MailChimp.
We’ll guide you through the steps to configuring a Knowi – Zapier connection below.
Step One: Select the Webhook Application
When you create a new Zap, you will be asked to select the trigger app. Select Webhooks by Zapier.

Step Two: Select Catch Hook
Select the Catch Hook option, which will configure Zapier to listen for incoming HTTP requests from a Knowi Trigger Notification.
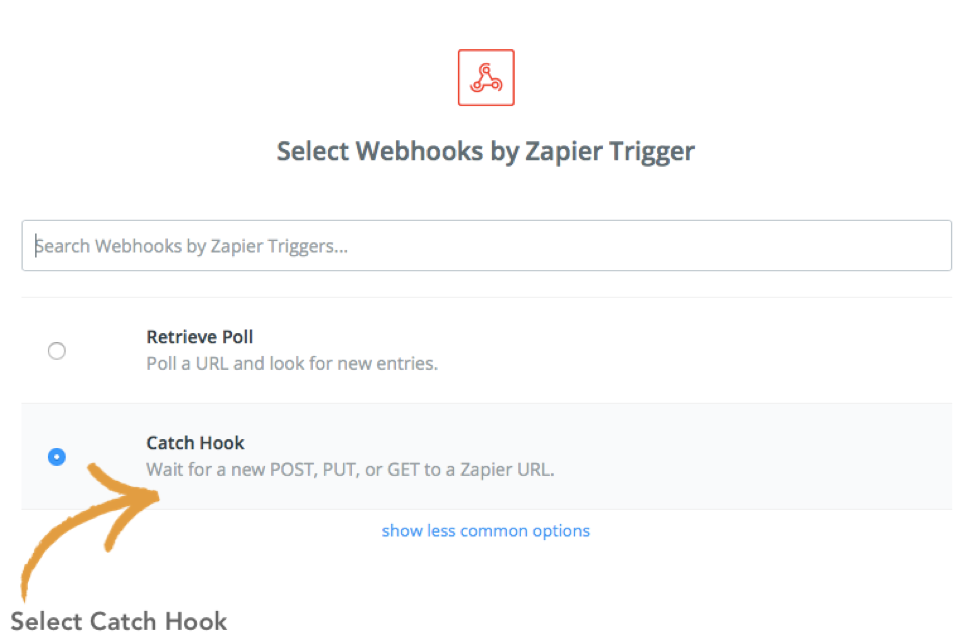
Step Three: Copy the Webhook URL from Zapier
Zapier gives you a URL to use. This is the URL our Trigger Notifications with use so let’s head over to Knowi.

Step Four: Configure Your Trigger Notification
Go to Knowi and open up the Settings menu and select Alerts.

Then select Add a Trigger Notification

To configure a Trigger Notification, you start with selecting the Dataset that contains the data you want to POST to Zapier. You can refine the data that will be sent over as well as the criteria that triggers the notification by using Cloud9QL. In this example, we’re selecting all the fields in the dataset “Active user today Autopilot update” but limiting the data to users within last login date of today. Lastly, you can select the frequency of the alert. In this example, we selected once a day.

Next, we configure the action. There are three options: email, webhook, and Slack. Select Webhook. Then select Add Webhook.

This will open the webhook configuration screen. Webhooks can be used to call other application APIs and POST data directly. Configuring the Webhook allows you to enter in parameters and authentication, as needed. In the case of Zapier, they make it super simple. There is no authentication needed. All you need is the URL that Knowi with use to POST data. This is the URL we copied from STEP 3

SAVE the Webhook and return to the Trigger Notification screen. SAVE the Trigger Notification and you’re done!

Step Five: Test the Trigger Notification
Now it’s time to test our new Trigger Notification. Click on Test Run and that will generate a POST to the URL so Zapier can see it.

Step Six: Do Your Happy Dance
Head back over to Zapier. You want to Test the Step. If everything is configured right, you should get a positive response with Test Successful! You can view the test data to see the payload data received from the Trigger Notification.

Next Steps
From here, you can use Zapier to do pretty much anything with this data. Using Knowi to gather relevant data and automatically trigger an action to send that data to Zapier is a very powerful way to extend your analytics. This allows you to go beyond dashboards to using Knowi to drive business process execution.
Please sign in to leave a comment.
0 comments